A Comprehensive Guide to Removing and Replacing Old Glazing
Preparing for the Project
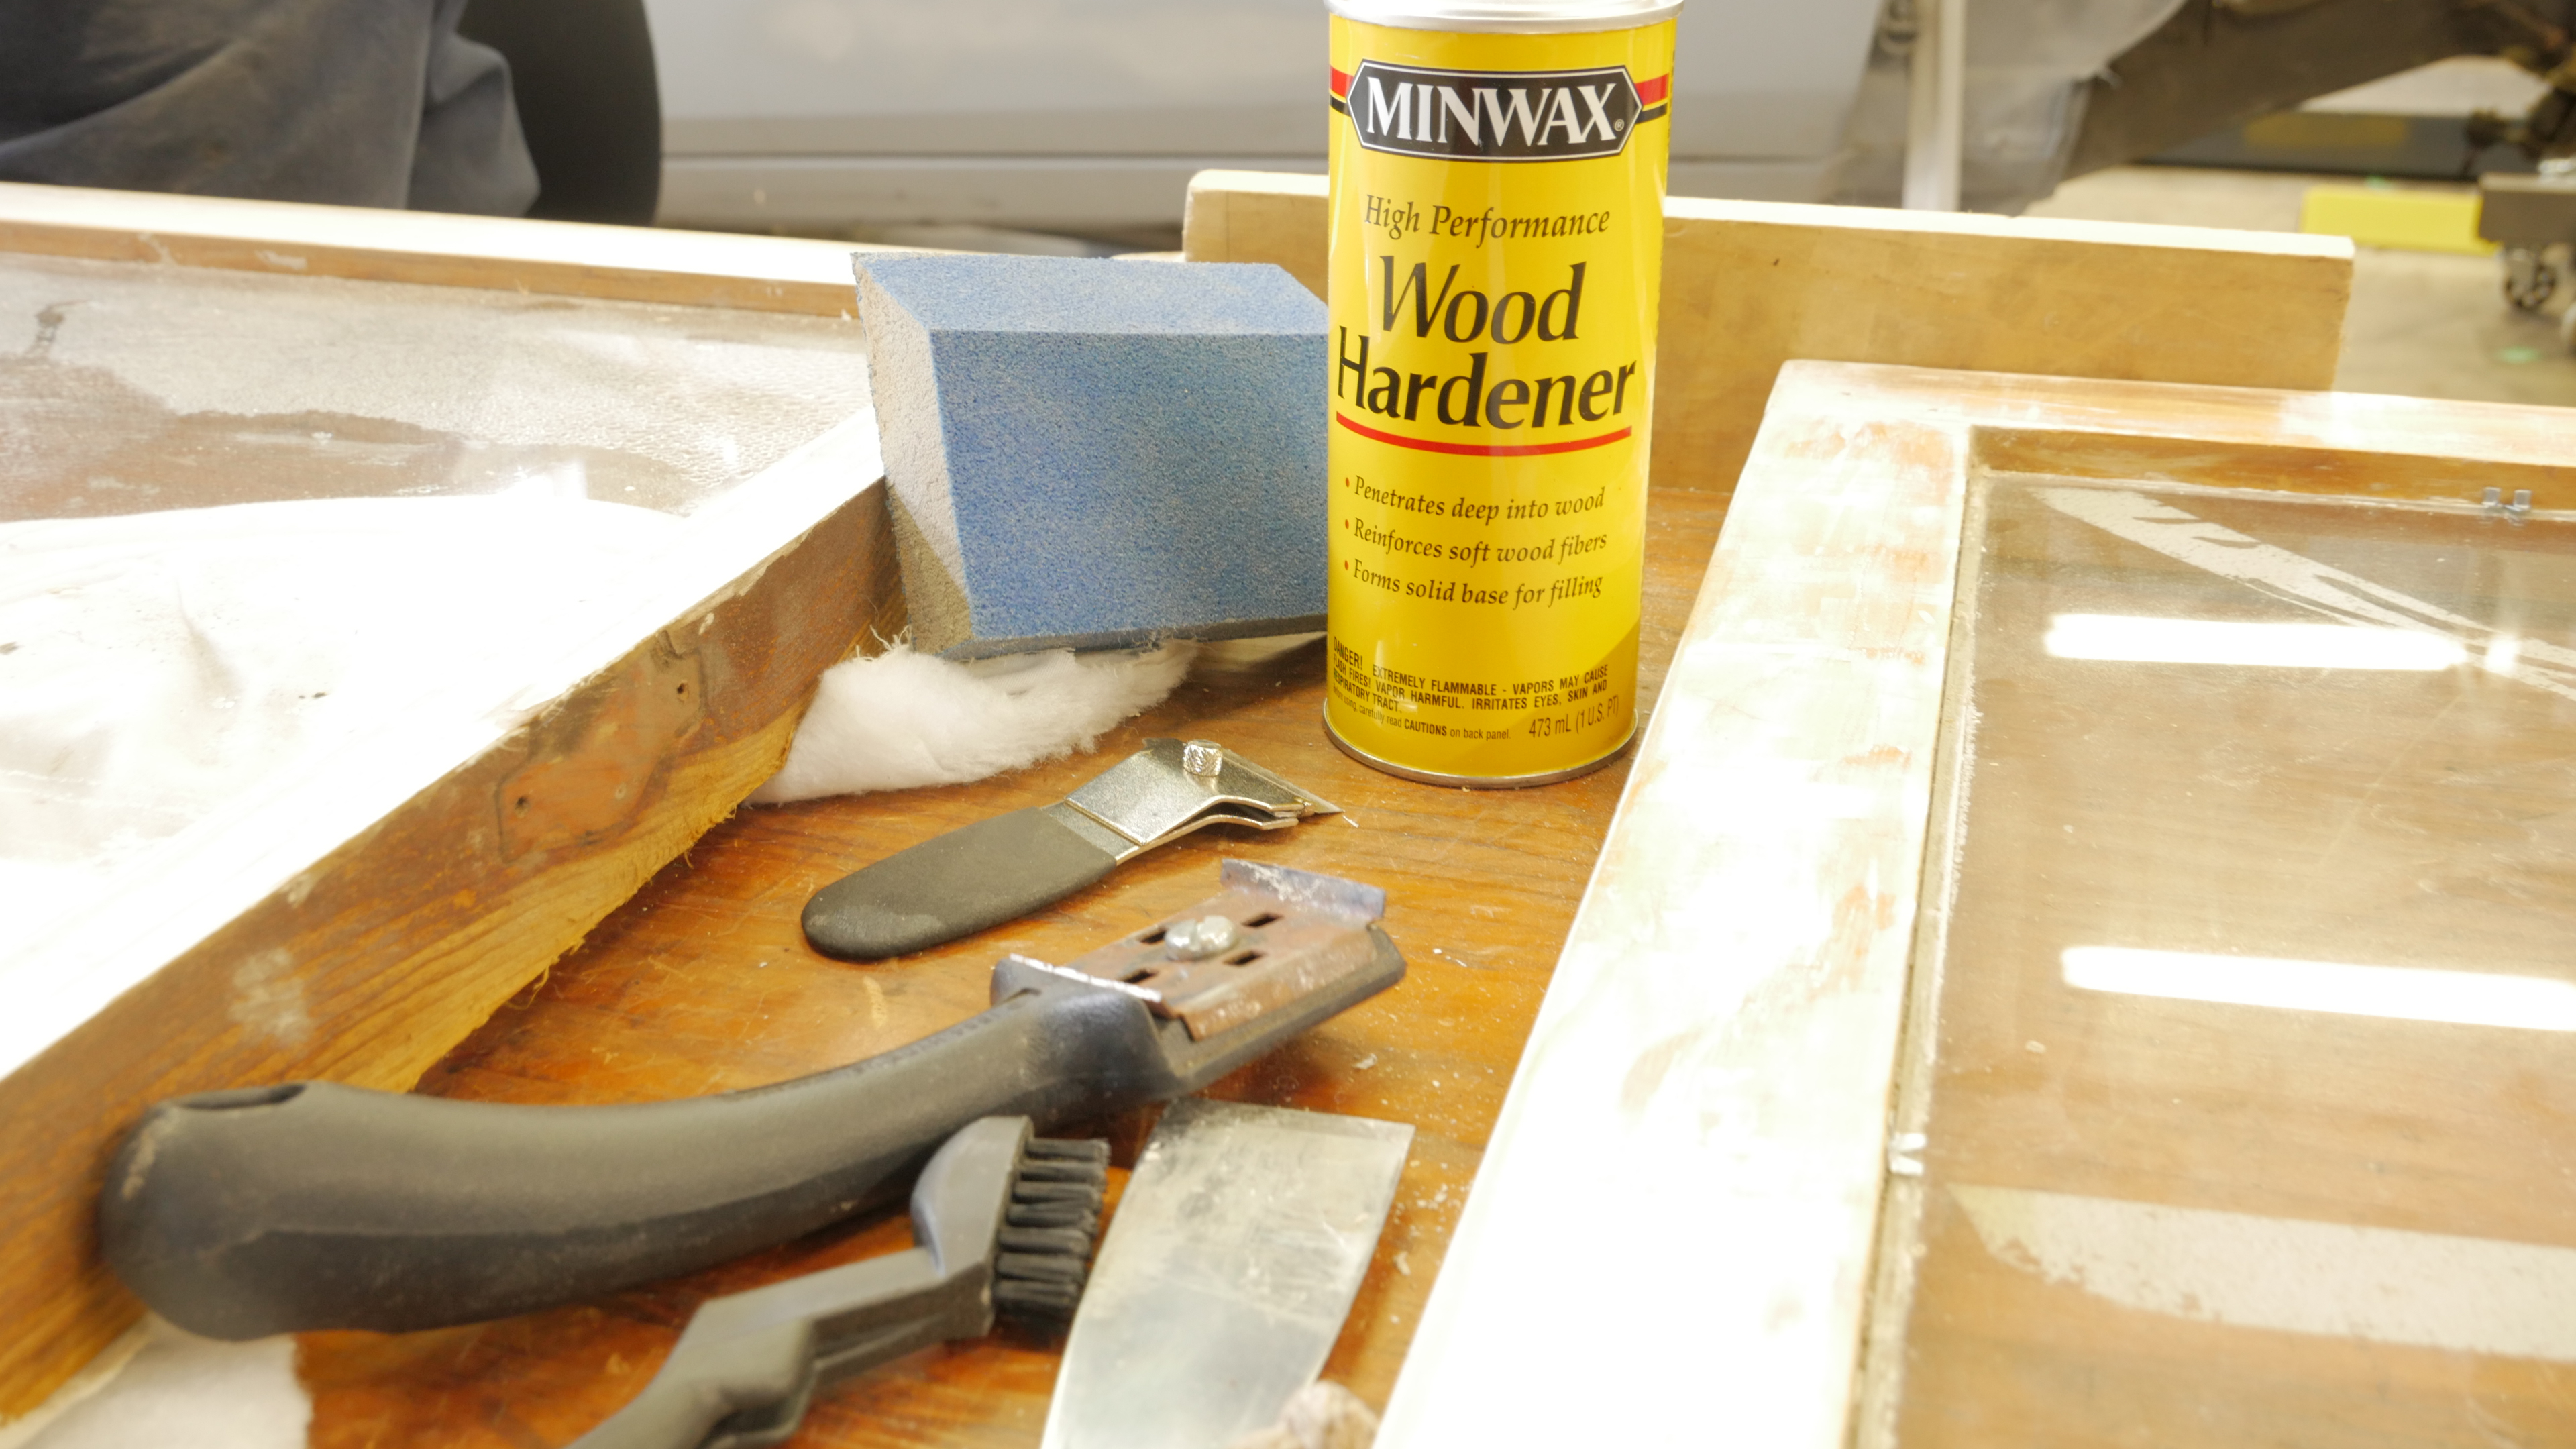
Before beginning any removal work, it is important to take proper safety precautions. Old glass becomes increasingly brittle with age, so there is a high risk of breakage during the removal process. To prevent injury from shattered glass, lay down material to catch any broken pieces, such as drop cloths, newspaper, or cardboard. You will also need to carefully extract any pin nails still anchoring the old glazing putty, using pliers to avoid injury.
Inspecting and Assessing the Existing Glazing
Start by closely inspecting both the interior and exterior surfaces of the window. Use a razor scraper to gently scratch along the glazing lines and check for any residual glazing still adhered. Scratching the surfaces in this way will reveal where glazing remains and needs to be removed. Take note of any areas with heavily degraded or missing glazing putty, as these will require re-glazing.
Softening and Removing Old Glazing Putty
A heat gun can be used to safely soften aged glazing putty for easier removal. Focus the heat along the glazing lines for 30-60 seconds to loosen the bond without overheating the glass. Be cautious not to allow prolonged direct heat on the glass itself to avoid thermal cracking. Once softened, carefully chisel or scrape away the bulk of the old putty, taking care around corners and glazing points. Patience is key to avoid glass breakage during this process.
Completing Glazing Removal and Surface Prep
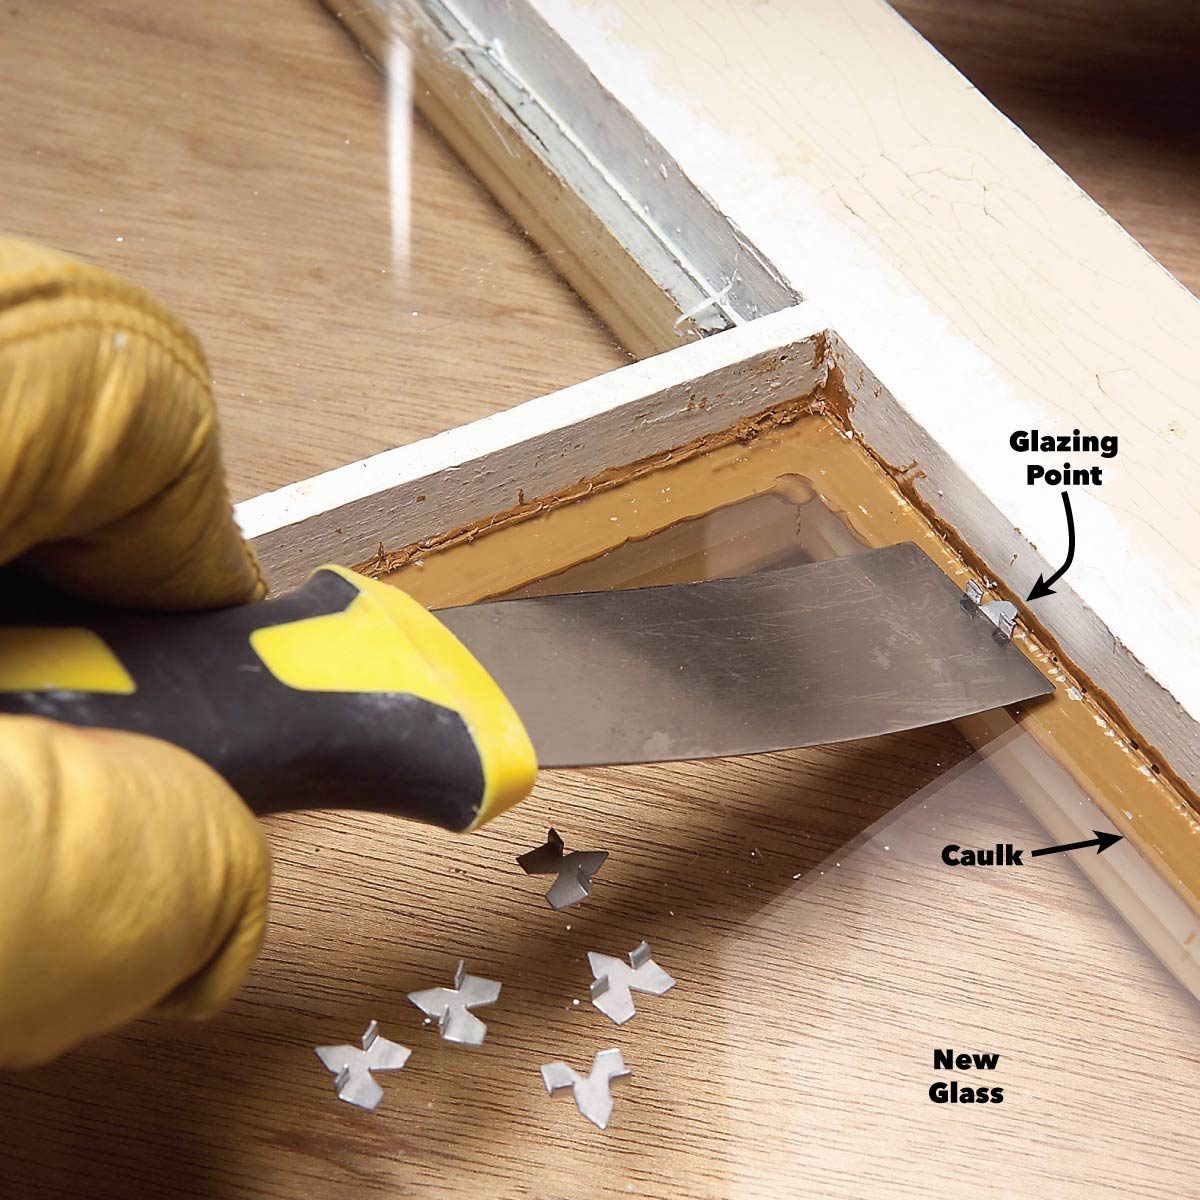
Use a putty knife or glazing tool to scrape away any remaining stubborn putty remnants. The surface should be clean and free of all debris before re-glazing. For windows in poor condition with some missing or degraded glazing, it may not be necessary to remove every last trace of the old material. As long as loose sections are gone, re-glazing over residual putty is acceptable. Thoroughly degreasing the surfaces with mineral spirits prepares them for excellent adhesion of new glazing materials.
Choosing a Quality Glazing Material
When selecting a replacement glazing, opt for a premium all-purpose glazing compound rather than lightweight varieties which are not as durable. Two top recommendations backed by decades of experience are Crawford’s Water Putty and DAP 33 glazing. Both offer exceptional adhesion qualities and flexibility for withstanding temperature fluctuations and vibration stresses.
Applying New Glazing with Precision
Use a high-quality glazing knife to neatly tool the compound, creating sharp, clean corners and a flush finished surface. Curved-end glazing knives allow for precise application even in tight internal corners. Take your time and tool the glazing in thin, even layers for a professional appearance. Allow adequate curing time per manufacturer instructions before exposing the glazed window to moisture or stresses.
Completing Protection and Finishing Touches
Once fully cured, any minor imperfections in the glazed lines can be tidied up with additional light tooling. Apply a suitable protective glazing as desired, such as glazing putty primer/sealer or 100% silicone caulk along external glazing joints. Finally, consider window retrofits like replacing old single pane glass with energy efficient double pane glass if warranted to maximize home comfort and efficiency. Properly glazed replacement glass will stand the test of time.
Ensuring Lasting Performance of New Glazing Work
With new, high quality glazing materials and proper application, windows should remain securely sealed and protected for decades to come. Regular inspection and light re-caulking every 5-10 years is recommended to maintain performance. Significant water intrusion or air leakage indicates the need for remediation such as re-glazing. Proactive maintenance helps preserve windows as an integral part of a home’s integrity, comfort and value.